Whether you’re testing a car battery, diagnosing an alternator fault, or checking continuity in a fuse, a multimeter is one of the most valuable tools in your kit. Though it may look complex at first glance, it’s actually quite straightforward once you understand the basics.
In this guide, we’ll walk you through everything you need to know — from what a multimeter is, to how to use it for common applications step by step. Ideal for beginners and handy for experienced DIYers, this article is designed to help you build confidence using your multimeter.
What Is a Multimeter?
A multimeter is a handheld tool that measures electrical values such as voltage (volts), current (amps), and resistance (ohms). There are two main types:
- Digital Multimeters (DMM): Display readings on an LCD screen and are most common.
- Analogue Multimeters: Use a needle-style gauge and are now largely outdated.
Most multimeters come with two probes (red and black), a selection dial to choose the test function, and ports for the leads to plug into. More advanced models also test continuity, capacitance, temperature, and even frequency.
Understanding Multimeter Symbols
When you first look at a multimeter, you’ll notice a range of symbols around the selection dial. These indicate the type of test you’re performing. Common symbols include:
- V⎓ (DC Voltage): Used for testing batteries and automotive circuits.
- V~ (AC Voltage): For household mains voltage.
- A⎓ (DC Current) or A~ (AC Current): Measures amps in a circuit.
- Ω (Resistance): Measures resistance in ohms.
- Diode symbol / Continuity: Used to test fuses, wires, or diodes.
- µF or F: Capacitance (for testing capacitors).
Most units will also have number ranges next to these settings (e.g. 2V, 20V, 200V) — select the nearest higher range based on what you’re measuring.
How to Use a Multimeter Step by Step
Step 1: Plug in the Test Leads
- The black lead always plugs into the COM (common) port.
- The red lead usually goes into the port marked VΩmA for most tests. Some units have a separate 10A or 20A port for higher current testing.
Step 2: Select the Measurement Type
Turn the dial to the function you want — voltage, resistance, continuity, etc. If you’re unsure, choose a range higher than the expected value to protect the meter.
Step 3: Connect the Probes
Touch the black probe to the negative/earth/ground point, and the red probe to the positive or signal side. Then read the value on the screen.
Step 4: Interpret the Reading
Compare your reading to known normal values. This helps determine if the circuit or component is healthy or faulty.
Common Ways to Use a Multimeter
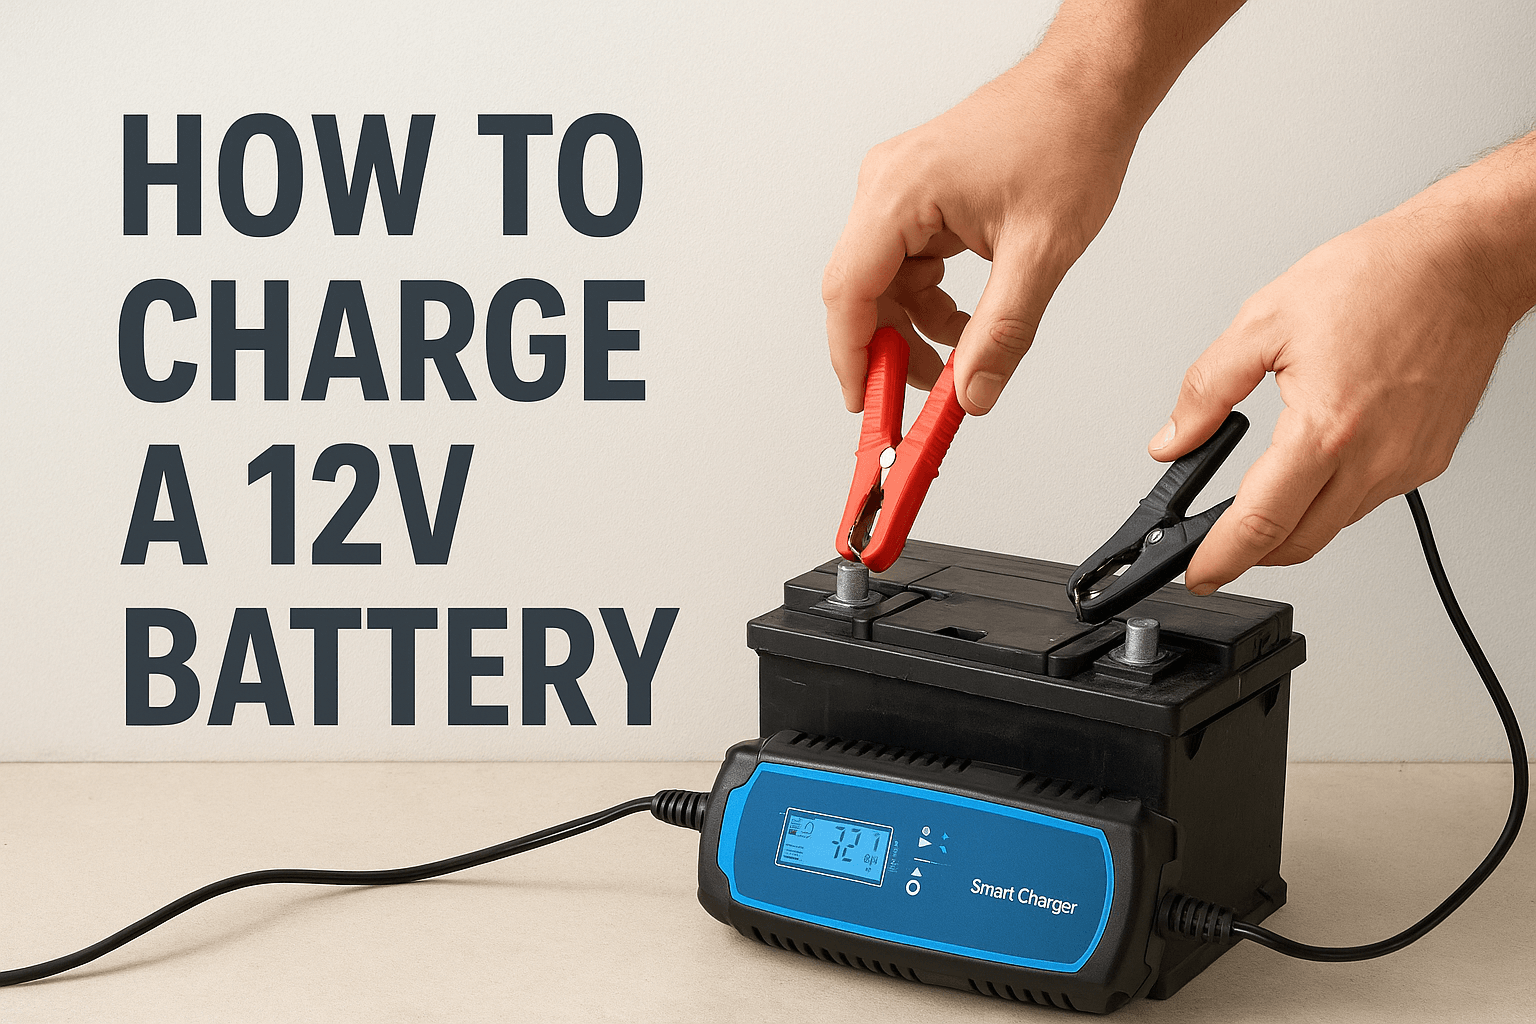
1. How to Test a Car Battery with a Multimeter
- Set the dial to DC Voltage (V⎓) and choose 20V range.
- Connect the red probe to the battery’s positive terminal (+) and black probe to the negative (-).
- A healthy battery should read around 12.6 to 12.8V. Anything under 12.2V likely means it’s undercharged or weak.
- Start the vehicle with the multimeter attached to the battery, if the voltage drops below 10v while cranking the vehicle then the battery either needs charging or replacing.
If the multimeter reads 10v or higher while cranking the vehicle the battery is most likely fine.
2. How to Test an Alternator with a Multimeter
- With the engine off, take a battery reading (as above).
- Start the engine and test again. A healthy alternator should show a voltage between 13.5V and 14.4V.
- If it’s the same or lower than before, your alternator may not be charging.
3. How to Test a Relay with a Multimeter
- Remove the relay from the car.
- Set the multimeter to measure resistance (Ω).
- Measure across pins 85 and 86 (coil terminals). A reading of 50–150 ohms indicates a working coil.
- Power up the relay and check for continuity between pins 30 and 87 (switched contacts) — if you hear a click and get continuity, the relay works.
4. How to Measure Amps with a Multimeter
- Move the red lead to the A (amps) port.
- Set the dial to A⎓ for DC current.
- The meter must become part of the circuit. For example, remove a fuse and insert the probes into the fuse terminals.
- Be cautious — most multimeters can only handle up to 10A. Never exceed the device’s rating.
5. How to Test a Fuse with a Multimeter
- Set the multimeter to continuity mode (diode or soundwave symbol).
- Touch each end of the fuse with a probe.
- If you hear a beep or see a value close to 0 ohms, the fuse is good. No beep or OL (open loop) means the fuse is blown.
6. How to Test a Capacitor with a Multimeter
- Discharge the capacitor first (bridge the terminals with a resistor).
- Set the multimeter to capacitance mode (F or µF).
- Connect the probes to the capacitor’s terminals.
- Compare the reading with the capacitor’s rated value. Large differences may indicate a faulty part.
7. How to Test an Ignition Coil with a Multimeter
- Set the meter to resistance (Ω).
- Measure primary resistance across the coil’s external terminals. Compare the specs in your vehicle’s manual.
- Measure secondary resistance from a terminal to the centre output pin.
- A coil reading far outside spec means it should be replaced.
8. How to Test Solar Panels with a Multimeter
- Set the multimeter to DC Voltage (V⎓), and select a range above your panel’s rated output (e.g. 20V or 200V).
- Touch probes to the positive and negative panel leads (in full sunlight).
- A healthy solar panel should read close to its rated open circuit voltage.
Tips for Safe Multimeter Use
Using a multimeter safely is just as important as using it correctly. Always begin by selecting the highest range if you’re unsure of the expected value — this helps prevent overloading the device. Be especially cautious when measuring current, particularly in high-amp circuits, and only proceed if you’re confident in what you’re doing.
Before testing anything that’s powered on, double-check your probe placement to avoid short circuits or incorrect readings. And finally, when you’re done using your multimeter, store both the unit and test leads properly to protect them from damage and ensure they’re ready for the next job.
Choosing the Right Multimeter
When selecting a multimeter, it’s important to consider what features will best suit your needs. There are basic models ideal for casual use, and more advanced ones packed with professional features. One key decision is whether to go for an auto-ranging model, which automatically selects the correct range for you, or a manual-ranging one that gives you more control.
A backlit display is also handy if you often work in low-light conditions. Additional functions like temperature measurement, frequency, or duty cycle can add versatility, especially for automotive or electrical work. Lastly, check the build quality and safety ratings — such as CAT II or CAT III — to ensure it’s suited to the type of electrical environment you’ll be working in.
Still Unsure?
If you’re new to electrical testing or need help choosing the right multimeter, the team at Batteries Sunshine Coast can help. We stock quality multimeters, provide guidance on how to use them safely, and can even assist in testing your battery or electrical system.
Final Thoughts
A multimeter is a must-have tool whether you’re diagnosing vehicle faults, checking solar panels, or testing home wiring. By understanding how to use it step by step, you’ll avoid guesswork and make confident, informed decisions — all while saving time and money.
Need help testing your battery or buying your first multimeter? Visit Batteries Sunshine Coast — we’re here to help you get the most out of your tools.
FAQs
- How to use a multimeter for beginners?
Start by familiarising yourself with the basic parts of the multimeter — the screen, dial, and test lead ports. Plug the black lead into the COM port and the red lead into the port marked VΩmA. Turn the dial to the function you want (like DC Voltage for a battery), then touch the probes to the component you’re testing — black to negative/ground, red to positive. Read the value on the screen and compare it to expected results. Always start with low-voltage or continuity tests to get comfortable.
- How to use a multimeter to test a circuit?
To test a circuit, set the multimeter to the correct function based on what you’re checking — voltage (V), current (A), or resistance (Ω). For voltage, place the probes across two points in the circuit while it’s powered on. For current, the meter must become part of the circuit (i.e. probes in series). For resistance or continuity, make sure the power is off before testing. Always double-check settings and probe placement for safety.
- How to test if wire is live with a multimeter?
Set the multimeter to AC Voltage (V~) if you’re checking a mains power wire. Insert the black probe into a grounded point (like the earth terminal of a socket) and the red probe onto the wire you suspect is live. If the wire is live, the screen will show a voltage (usually around 230V in Australia). Be extremely careful and use insulated probes when testing live wires.
- How to use a multimeter for 12 volts?
To test 12V circuits (like in cars), set the multimeter to DC Voltage (V⎓) and select a range above 12V — usually the 20V setting. Connect the red probe to the positive side and the black to the negative. A reading between 12.6V and 12.8V indicates a healthy battery. Readings under 12V suggest the battery is low or undercharged.
- What not to do with a multimeter?
Never test current in a high-amp circuit without knowing your meter’s limits — most can only handle up to 10A. Don’t switch test functions while the probes are connected to a live circuit. Avoid testing resistance or continuity on powered circuits. Never force the probes into ports — they should slide in easily. And always unplug the meter and store it safely when not in use.